|
Egg Crate and Screen...
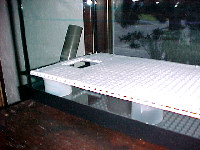
Next: Cut a sheet of egg crate plastic large enough to cover the entire bottom side. Also cut a piece of screen the same
size and attach it to the egg crate with plastic strip ties. Place it on the spacers. Note: If I was doing this tank again,
I would have extended the egg crate to cover the entire bottom. That would make for a more efficient biological filter.
Pump cage...
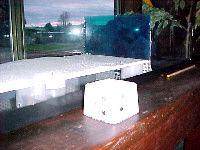
Find something to use as a cage around the pump so gravel and any waste material won't be sucked into it. Again, tupperware
works great! Drill holes in the sides to allow water to enter and cut down the height of the container to fit level with
the egg crate and screen.
Insert cage...
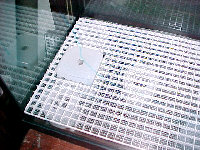
Place the pump cage into a hole that you had previously cut in the egg crate/screen piece. Oh, didn't I mention that? Well
you need to do that before you put it all together. Otherwise it won't work.
Pump and Tube...
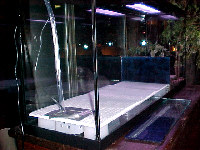
Once I was sure everything fit properly, I put the pump into place. The tube coming out of the top was the biggest concern
though...how tall should it be? Once you set the water flow on the pump it is fixed unless you want to take the entire thing
apart to change the flow! Yikes! You can change the length and diameter of the tubing in order to alter the flow also.
Rock Wall Divider...
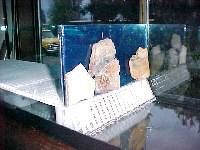
Cut a sheet of glass to fit across the width of the tank. The height will be determined by how deep you want the tank for
the fish. Glue it into place with silicone. Glue some slate rocks to it so it looks like a rock wall.
Note: At the
bottom of the glass divider you see that the eggcrate/screen has been cut and bent down to provide for the water to filter,
but the gravel to stay put. A word about glue: This silicone glue is more difficult to get off the glass so use it sparingly.
:o)
Rocks, Gravel, etc...
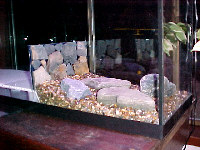
I purchased the gravel at the pet store. Then I went to the river and found some really cool rocks. I also found some native
plants and a small piece of log with moss growing on it.
River Base and Landsaping...
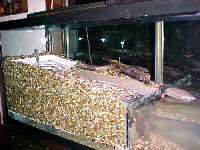
Things are starting to come together now. It took alot of gravel to bring the level up. Next time I might make everything
much lower. I used a piece of rain gutter pipe for the base of the river. The rain gutter is cut in half to lower the sides
of it. Under all the gravel is a piece of styrofoam packing material to take up some space. I have about 125 pounds of gravel
in this tank!
Notice near the tubing there is a plastic square. This is a basin to hold water that is pumped out. I fabricated it out of
an old cake lid from the store. You can use anything that will hold the water and funnel it where you need it to flow. Otherwise
the water will just drain through the gravel to the bottom.
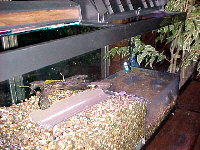
The drain pipe has a slight slope to it so the river can run down to the fish tank.
Finish the Landscape...
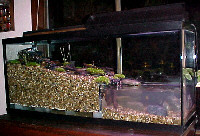
It's time to make it look like a real life landscape. I found some really neat plants and rocks and log pieces. The water
was a bit cloudy at first but it soon cleared up.
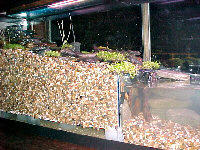
Lighting...
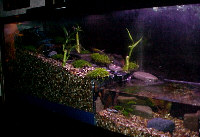
I made sure to buy the light hood for the top. It looks great in the evenings with the lights on.
Platform for Frogs...
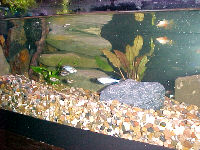
Since I had planned to get some frogs I needed a place for them to climb out of the water. Large river rocks were piled in
the corner. They also like to hide behind them.
|


